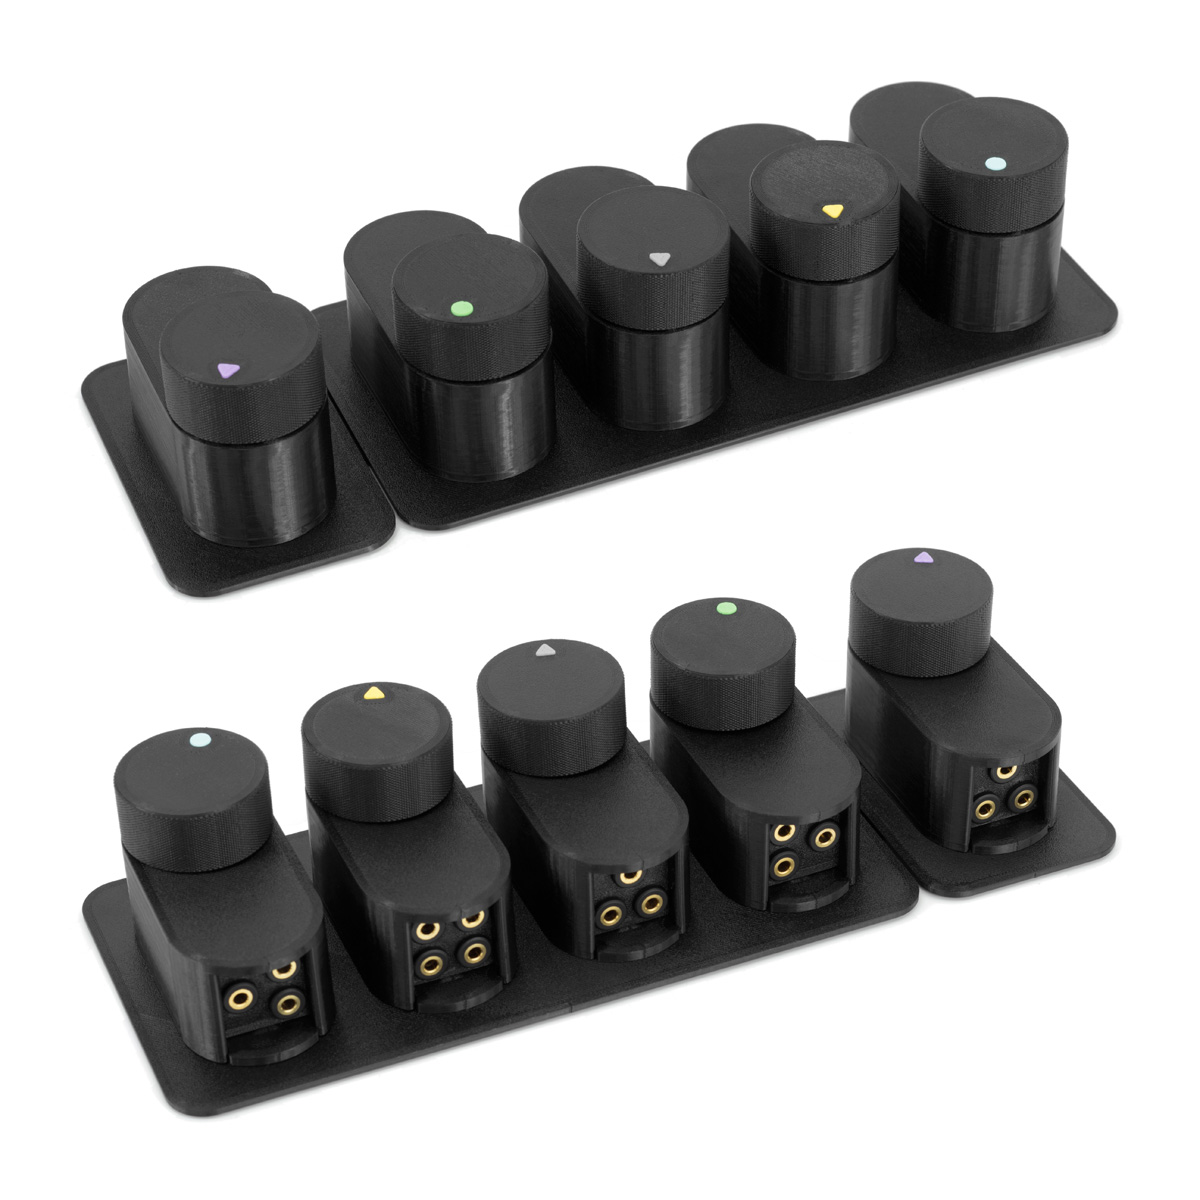
Audio Source Switch and Volume Control Boxes

Jocys.com 3D Printed Audio Source Switch and Volume Control Boxes
DOWNLOAD Version 1.4 (2022-08-04) ZIP ~16MB


• Intro • Updates • Parts • Tools • PETG Filament • Printing Settings • STL Files
DOWNLOAD Version 1.4 (2022-08-04) ZIP ~16MB


• Intro • Updates • Parts • Tools • PETG Filament • Printing Settings • STL Files
INTRO
Below you will find parts and tools, which will help you to print and assemble audio source switch and volume control boxes. If you noticed mistakes, have questions or suggestions, know better component (available in EU and US), please write or send link to [email protected] • Project page: Jocys.com/switch
Parts were printed from PETG with Prusa3D i3 MK3 Printer. If your printer is not precise enough, printed parts may not fit into each other and may not look good.
If you made your own updates or (file) changes, related to this project, please send me a link. I will add this link to your work on this page.
Why I decided to make my own switch? I tested few audio switches. Ground wires of both audio sources were connected together in all of them. Why? I understand, that manufacturers can save few € by using cheaper switches with fewer poles, but consequences of that are unacceptable. Unnecessary ground merging creates audio noise and anomalies. You need to buy and use ground loop isolators to eliminate this noise, but ground loop isolators degrade quality of the audio slightly. I wanted audio to go through ground loop noise isolators ONLY, when both audio sources are merged (when you want to hear audio from both computers at the same time). To avoid audio merging, while switching sources, I used non-shorting switches. Also, I wanted to switch headphones and stereo microphone with ability to switch off (disconnect) microphone completely. With stereo microphone you can have better environment noise elimination options in software. I didn’t want to use powered audio mixers or interfaces, which needs power and processes (distorts) signal in any way.
Features:
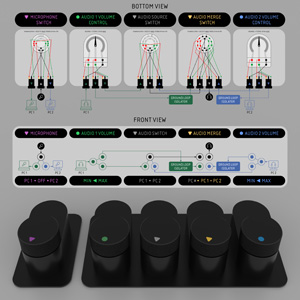
1. Microphone switch: PC1 • OFF • PC2.
2. PC1 audio volume control.
3. PC2 audio volume control.
4. Audio source switch: PC1 • PC2.
5. Audio source merge: PC# (OFF) • PC1 + PC2 (ON) - audio signal grounds of PC1 and PC2 are merged and audio goes through ground loop noise isolators ONLY, when audio signals are merged. This allows to avoid audio quality degradation, when unnecessary and you don't need to listen both computers at the same time.
Parts were printed from PETG with Prusa3D i3 MK3 Printer. If your printer is not precise enough, printed parts may not fit into each other and may not look good.
If you made your own updates or (file) changes, related to this project, please send me a link. I will add this link to your work on this page.
Why I decided to make my own switch? I tested few audio switches. Ground wires of both audio sources were connected together in all of them. Why? I understand, that manufacturers can save few € by using cheaper switches with fewer poles, but consequences of that are unacceptable. Unnecessary ground merging creates audio noise and anomalies. You need to buy and use ground loop isolators to eliminate this noise, but ground loop isolators degrade quality of the audio slightly. I wanted audio to go through ground loop noise isolators ONLY, when both audio sources are merged (when you want to hear audio from both computers at the same time). To avoid audio merging, while switching sources, I used non-shorting switches. Also, I wanted to switch headphones and stereo microphone with ability to switch off (disconnect) microphone completely. With stereo microphone you can have better environment noise elimination options in software. I didn’t want to use powered audio mixers or interfaces, which needs power and processes (distorts) signal in any way.
Features:
1. Microphone switch: PC1 • OFF • PC2.
2. PC1 audio volume control.
3. PC2 audio volume control.
4. Audio source switch: PC1 • PC2.
5. Audio source merge: PC# (OFF) • PC1 + PC2 (ON) - audio signal grounds of PC1 and PC2 are merged and audio goes through ground loop noise isolators ONLY, when audio signals are merged. This allows to avoid audio quality degradation, when unnecessary and you don't need to listen both computers at the same time.
UPDATES
1.4 (2022-08-04) • 35° angle connector added.
1.3 (2022-08-02) • 35° angle adapters added.
1.2 (2022-07-31) • Large and medium boxes removed. Small box and knobs updated.
1.1 (2020-06-09) • Smooth shaft button added, knurled removed. Knobs redesigned to hide screw hole and to reduce ZIP from 67 to 11 MB.
1.0 (2020-06-06) • Released
0.1 (2020-04-25) • ...
PARTS
PARTS WITHOUT TOOLS AND DELIVERY
| TOTAL | €120 | 2022-08-04 |
| Mouser | €20 | Audio switches, potentiometers for volume control |
| Farnell | €26 | 3.5mm jacks sockets |
| Kenable | €7 | 3.5mm cables |
| Neoteck | €28 | Ground loop isolators |
| 12voltplanet | €8 | 0.5mm² 11A cables |
| Affixit | €6 | Bumper stops |
| Accu | €5 | Cup point grub screws and nuts for knobs |
| Amazon / MCPP BasicFill | €20 | 0.8 kg PETG 3D printer filament |
ROTARY SWITCH FOR AUDIO SOURCE SWITCHING
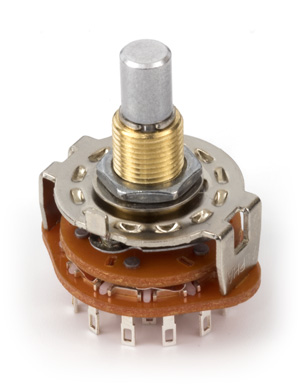 | 2 x Taiwan Alpha • SR2511F-0602-19R0B-E9-N-W-159 Find on: Mouser (EU) • Digi-Key (US) Rotary switch with 6 poles and 2 positions for "Audio Source Switch" and "Audio Merge Switch" boxes. I would not recommend to buy cheap Chinese rotary switches. They are, usually, made from softer metals and after several dozen switches lose switching smoothness. Series: SR2511F Product Category: Rotary Switches Number of Positions: 2 Position Number of Decks: 1 Deck Number of Poles per Deck: 6 Pole Current Rating: 300 mA Voltage Rating AC: 125 VAC Index Angle: 0 deg Contact Style: Non-Shorting (Non-Shorting / Break-Before-Make) Termination Style: Solder Lug Thread Size: M9xP0.75 (9mm) |
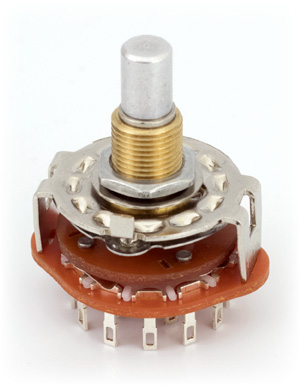 | 1 x Taiwan Alpha • SR2511F-0403-19R0B-E9-N-W-159 Find on Mouser (EU) • Digi-Key (US) Rotary switch with 4 poles and 3 positions for "Microphone Switch" box. I would not recommend to buy cheap Chinese rotary switches. They are, usually, made from softer metals and after several dozen switches lose switching smoothness. Series: SR2511F Product Category: Rotary Switches Number of Positions: 3 Position Number of Decks: 1 Deck Number of Poles per Deck: 4 Pole Current Rating: 300 mA Voltage Rating AC: 125 VAC Index Angle: 0 deg Contact Style: Non-Shorting (Non-Shorting / Break-Before-Make) Termination Style: Solder Lug Thread Size: M9xP0.75 (9mm) |
ROTARY POTENTIOMETER FOR VOLUME CONTROL
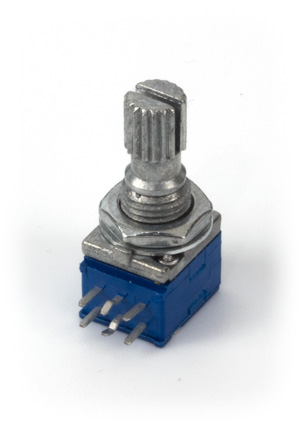 | 2 x Bourns • PTD902-1015K-A102 Find on Mouser (EU) • Digi-Key (US) Sennheiser uses 500Ω potentiometer in HZR 62 volume control for HD 62 TV 32Ω headphones. Creative uses 1000Ω (1KΩ) potentiometer in Volume Control Module for Sound Blaster Zx. 10000Ω (10KΩ) potentiometers are too strong for Sennheiser HD 598 50Ω headphones. Bourns rotary potentiometer for volume control box. Series: ProAudio PTD90 (9mm) Resistance: 1 kOhms Taper: Audio Number of Turns: 1 Turn Number of Gangs: 2 Gang Element Type: Carbon Tolerance: 10 % Thread Size: M7xP0.75 (7mm) Shaft Type: Knurled / Serrated Shaft Diameter: 6 mm Shaft Length: 15 mm Termination Style: Through Hole Mounting Style: Panel Mount Life: 15000 Cycles Power Rating: 25 mW Voltage Rating: 20 VDC, 150 VAC |
3.5MM 3 POLE JACK SOCKET
 | 16 x EST Marushin • MJ-073H Find on CPC Farnell • UK Farnell • US Newark 3.5mm 3-Pole Panel Mount Jack Socket Manufacturer Part No: MJ-073H No. of Contacts: 3 Contacts Gender: Socket Pin Diameter: 3.5mm Connector Mounting: Chassis Mount Contact Plating: Gold over Nickel Plated Contacts Connector Body Material: Plastic Body |
DIAGRAMS
 | 5 Small Boxes Switch Box Diagram 1 x Taiwan Alpha • SR2511F Rotary Switch 4 Poles 3 Positions 2 x Taiwan Alpha • SR2511F Rotary Switch 6 Poles 2 Positions 2 x Bourns PTD902-1015K-A102 Potentiometer 16 x EST Marushin • MJ-073H 3.5mm 3 Pole Jack Socket 2 x Neoteck Ground Loop Noise Isolator 5 x Kenable • 001454 3.5mm Jack to Jack 15cm Cable |
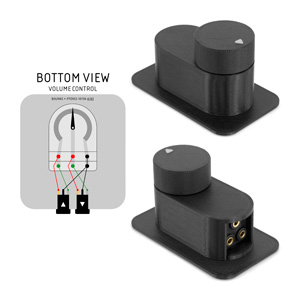
 | Volume Control Box Diagram In this photo volume box assembled with 1 IN and 2 OUT (split) sockets. 1 x Bourns • PTD90 Rotary Potentiometer 2 x EST Marushin • MJ-073H 3.5mm 3 Pole Jack Socket |
AUDIO CABLES
 | 5 x Kenable • 001454 3.5mm Jack to Jack 15cm Cable For connections between boxes, ground loop isolators. |
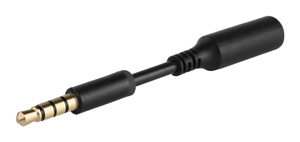 | 1 x Amazon • 3.5mm Audio Jack Extender 3 inch (7.6mm) If you will use "Volume Control" box attached to a leg table, I would recommend to use short 3.5mm Audio Jack Extender for some time. If you will forget, that you are wearing headphones, and will move from the table... if "Volume Control" box will not disconnection from its holder, extender will bend and headphones will disconnect first. |
GROUND LOOP NOISE ISOLATOR
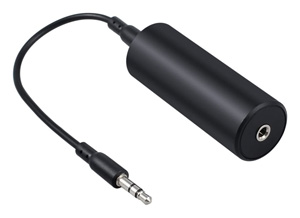 | 2 x Neoteck • Ground Loop Noise Isolator If you will use "Audio Source Merge" box (to hear both computers at the same time), grounds of booth sources will be connected together. This can introduce background audio noise and anomalies. To avoid problems, you need to add Ground Loop Noise Isolator between "Volume Control" and "Audio Source Merge" boxes for BOTH computers. Eliminates Hiss, hum, and other background interference, caused by ground loop noise. For any audio devices that has 3.5mm audio jacks, like car audio system, home stereo, PC, laptop, speaker. Compact size makes it easy to carry around. Easy installation, no extra setup. All you need to do is to plug it in. Contents: Vinteam ground loop isolator, 3.5mm audio cable, user manual, 18-Month product replacement warranty. |
CABLES
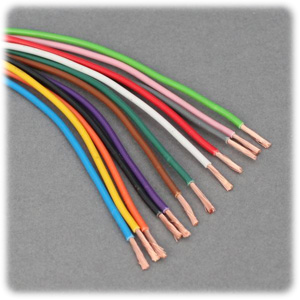  | 12voltplanet • Single 0.5mm² 11A 1 x 50m Reel of Single 0.5mm² 11A - Black (ground) 1 x 50m Reel of Single 0.5mm² 11A - Red (right) 1 x 50m Reel of Single 0.5mm² 11A - White (left) I cut majority of wires into 7cm length pieces. Then stripped insulation from the ends (3mm for 3.5mm audio jack and potentiometer pins, 1mm for switch pins). I created few longer wires to connect 2 or 3 pins together at one of the ends. Manufactured to: ISO 6722:2006 (Class B) Voltage rating: suitable for 12V & 24V systems (60V max.) Nominal current rating: 11A Maximum loading: 132W@12V, 264W@24V No./size of conductors: 16/0.20mm Conductor cross section: 0.5mm2 Maximum overall cable diameter: 1.7mm Resistance per m at 20oC: 0.0371 Ω Conductor material: Plain copper Insulation material: PVC (hard grade) Working temperature range: -40oC to +105oC (with brief excursions up to +120oC) |
BUMPER STOPS
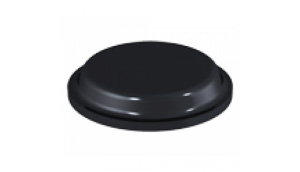 | 14 x BumperStops • Affixit • Cylindrical Bumper Stops PD.2120BSHEET PD.2120 Cylindrical Bumper stops - 10.1mm x 1.8mm 288 Bumper Stops per Sheet (Priced per Sheet) Material: Polyurethane Adhesive: Black Bumper stops have a Rubber Adhesive. Service Temperature for Black Bumper stops: -20 °C to 70°C Anti Slip Anti Scratch Anti Vibrate Absorbs Shock Dampens Sound |
SCREWS AND NUTS FOR SWITCH KNOBS
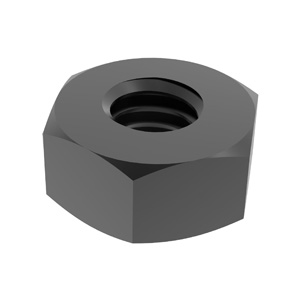
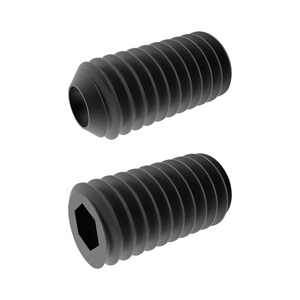 | 3 x Accu • M3 8mm Cup Point Grub Screw (DIN 916) M3 8mm Cup Point Grub Screw for knobs (1). Cup Diameter: 1.15mm-1.4mm Finish: Chemical Matte Black Length: 8mm Manufacturing Standard: DIN 916 Material: A4 Stainless Steel (Black) Min Socket Head Depth: 1.2mm Pitch: 0.5mm 1.5mm (1.52mm-1.58mm) Hexagon Socked (1) Thread Size: M3 (3mm) |
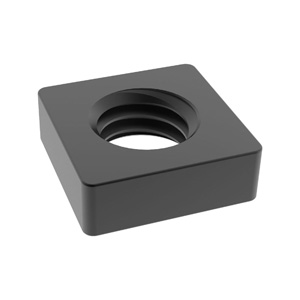 | 3 x Accu • M3 Square Nut (DIN 562) M3 Square Nuts for knobs. Finish: Chemical Matte Black Manufacturing Standard: DIN 562 Material: A4 Stainless Steel (Black) Pitch: 0.5mm Thickness: 1.8mm Thread Size: M3 (3mm) Width: 5.5mm |
SCREWS AND NUTS FOR IKEA OLOV LEG HOLDER
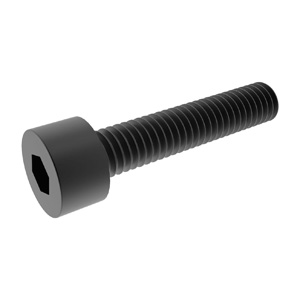 | 3 x Accu • M3 x Cap Head Screw (DIN 912) M3 12mm Cap Head Screws for IKEA OLOV adustable leg holder (3). M3 (3mm) Thread Size (T) 12mm Length (L) 3mm Head Length (H) 1.3mm Hexagon Depth (P) 2.5mm Hexagon Socket A/F (J) DIN 912 Manufacturing Standard +/- 0.13mm General Tolerances Yes Fully Threaded 12.9 Hardened Steel Material 0.5mm Screw Thread Pitch Self Colour Finish 5.5mm Head Diameter (D) 10mm or 18mm Thread Length (Max) |
 | 3 x Accu • M3 Hexagon Nut (DIN 934) M3 Hexagon Nuts for IKEA OLOV adustable leg holder (3). DIN 934 Manufacturing Standard 5.32mm - 5.50mm Nut Width A/F (F) 0.13mm General Tolerances A4 Stainless Steel - Black Material A4 Stainless Steel Material Specification Chemical Matte Black Finish 6.01mm Nut Width A/P (C) 0.5mm Thread Pitch M3 (3mm) Thread Size 2.15mm - 2.40mm Nut Thickness (T) |
KNOBS (OPTIONAL)
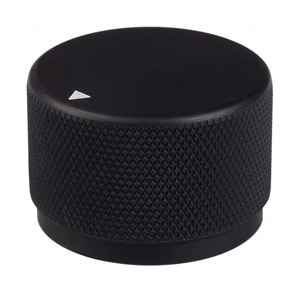 | Kilo International • OEJA-90-4-5 Knob These knobs look good for volume control. Make sure, shaft diameters on knob and potentiometer are the same (6mm or 6.35mm). Model: OEJ Indicator: (L)line, (A)arrow, (NI)no ind. Diameter: (50)0.500", (63)0.625", (75)0.750", (90)0.920" Finish: (1)clear gloss, (2)black gloss, (3)clear matte, (4)black matte Shaft Size: (5)0.250"(6.35mm), (6)0.125", (7)0.2375"(6mm) |
VELCRO (OPTIONAL)
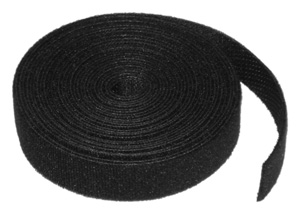 | Velcro • One-Wrap Reusable Ties 10mm x 5m 10mm x 5m - Black - For tying Volume Box B to something with "Volume Control Box B Bottom" part for Velcro. |
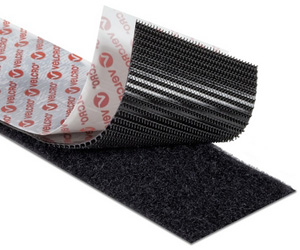 | Velcro • Heavy Duty Stick On Tape 50mm x 1m 50mm x 1m - Black - For sticking Volume Box B to something with "Volume Control Box B Bottom" part for Velcro. VELCRO® Brand Stick On fasteners are ideal for smooth surfaces and can be used indoors or outside. They are available in squares, coins, strips, and tapes and come in a range of colors. 1. Clean and dry surface before application 2. Peel tape from fastener and press firmly into place 3. Adhesive reaches maximum strength after 24 hours |
TOOLS
3D PRINTER
 | Prusa • i3 MK3 3D Printer • Print technology: Fused Filament Fabrication / Fused Deposition Modeling. • 0.4mm nozzle (easy changeable) for 1.75 mm filament. • Build volume 11,025 cm3 (25 x 21 x 21 cm). • Layer height (layer resolution) from 0.05 mm (50 microns). • Accuracy: 0.01 x 0.01 x 0.005 mm (10 x 10 x 5 microns). • Max extruder temperature: 280 °C. • Max heated bed temperature: 120 °C. • Supported materials: PLA, ABS, PET, HIPS, Flex PP, Ninjaflex, Laywood, Laybrick, Nylon, Bamboofill, Bronzefill, ASA, T-Glase, Carbon-fibers enhanced filaments, Polycarbonates... |
SOLDERING TOOLS
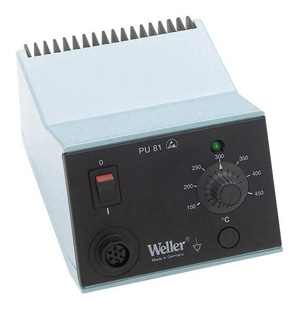 | Weller • BP865CEU Weller • PU 81 For soldering wires to potentiometer and switch. |
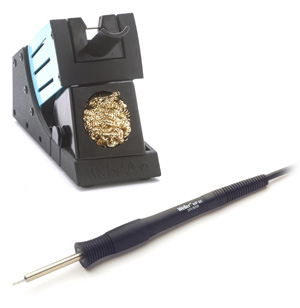 | Weller • Tip-Activator For regeneration of oxidized tips. Cleaning only possible in hot state of the soldering tip. Weller • WP 65 Set WP 65 - Soldering iron 65 W, 24 V with Power-Response Heating Technology. XNT A - Soldering tip chisel 1,6 x 0,4 mm. WDH 10 - Safety rest with Stop+Go function and dry cleaner. |
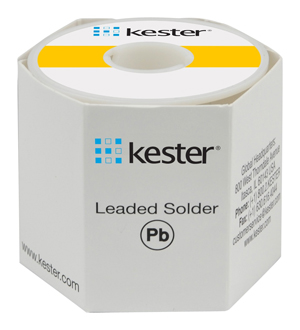 | Weller • EL60/40-100 Kester • 44 Flux-Cored Wire Sn60Pb40 - 0.8mm - 3.3% Flux - melting range 183-190°C Sn63Pb37 - 0.8mm - 3.3% Flux - melting point 183°C |
SCREWDRIVERS
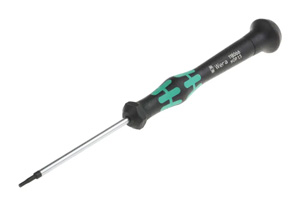 | Wera Tools • Series Kraftform Micro 2054 (05118066001) For M3 cup point grub screws on knobs (DIN 916). 2054 Screwdriver (1.5mm) for hexagon socket screws for electronic applications. High-quality steel micro screwdriver Hex-Plus allows socket head screws to live longer Power zone with integrated soft grip Free spin cap Anti-roll off Corrosion protected Chemical resistance |
| Wera Tools • Series Kraftform Micro 2054 (05118070001) For M3 cap head screws (DIN 912) for IKEA OLOV adustable leg holder. 2054 Screwdriver (2.5mm) for hexagon socket screws for electronic applications. High-quality steel micro screwdriver Hex-Plus allows socket head screws to live longer Power zone with integrated soft grip Free spin cap Anti-roll off Corrosion protected Chemical resistance |
WIRE STRIPING AND CUTTING TOOLS
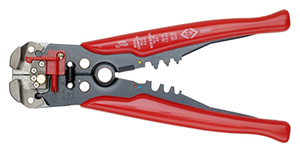 | C.K Tools • 495001 Wire Stripper Stripping: 0.2 - 6.0mm²; Cutting: HRC 40 - 50; Crimping: 0.5 - 6.0mm² insulated and non-insulated terminals |
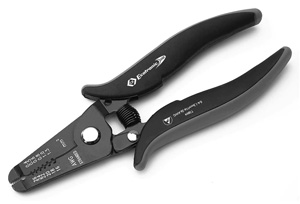 | C.K Tools • Wire Stripping Pliers T3894 For safe and damage-free stripping of fine, insulated solid wires. Suitable for cutting soft copper wires. Stripping capacities mm: 0.4, 0.5, 0.6, 0.8, 1.0, 1.3 Stripping capacities AWG: 26, 24, 22, 20, 18, 16 |
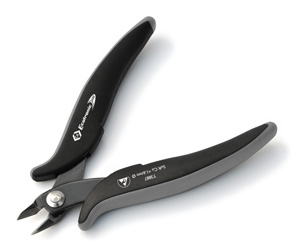 | C.K Tools • Side Cutters T3887 Precision side cutters. Suitable for cutting soft copper wires of up to 1.6mmØ / 14AWG. |
PETG FILAMENT
I would not recommend to print parts from ABS (shrinkage is too big) or PLA (low heat resistance). Light colour prints are quite demanding and require higher quality filament and printer precision, because light filaments don't mask print imperfections as well, as black filaments do.
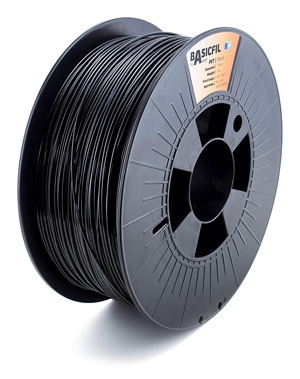 | I had no problems with these filaments: Prusa3D • Jet Black Prusament PETG 1.75 MCPP • BasicFil Black PETG 1.75 Amazon • AmazonBasics Black PETG 1.75 |
 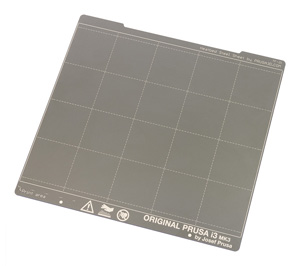 | PC Johnson • Windex Original Glass Cleaner For preparing-cleaning heated printer bed... Spring Steel Sheet with Smooth Double-sided PEI before printing with PETG filament. Water: Water Cleaning Agent: 2-Hexoxyethanol, Isopropanolamine, Ammonium Hydroxide Wetting Agent: Lauryl Dimethyl Amine Oxide, Sodium Dodecylbenzene Sulfonate Fragrance: Fragrance Dye: Liquitint® Sky Blue Dye |
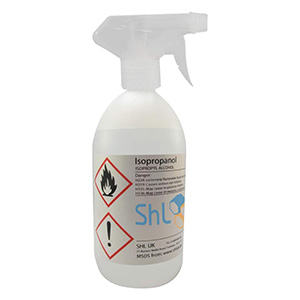 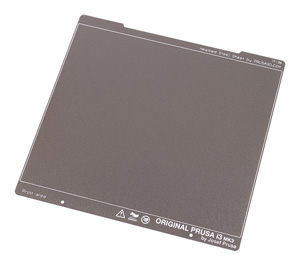 | SHL • Isopropanol / Isopropyl Alcohol / IPA NOTE: I didn't test-print parts for this project on Textured PEI Powder-coated Spring Steel Sheet. For preparing-cleaning heated printer bed... Double-sided Textured PEI Powder-coated Spring Steel Sheet before printing with PETG filament. For thin parts to stick correctly, you may need to adjust height of first layer perfectly and to reduce "Elephant foot compensation" from default value 0.2mm... to 0.1mm.  Modified settings: PrusaSlicer > Print Settings > 0.20 QUALITY MK3 > Advanced > Slicing... Modified settings: PrusaSlicer > Print Settings > 0.20 QUALITY MK3 > Advanced > Slicing...Isopropanol 99.9% / Isopropyl Alcohol / IPA Manufacturer Part Number: 1000-ISO-TRIGGER Child Proof Cap Natural Trigger spray cap for bottles with a 28mm neck (OFF, Spray, Stream) 1 Litre |
 | Kleenex • Ultra Soft Pocket Tissues For preparing-cleaning heated printer bed. |
PRINTING SETTINGS
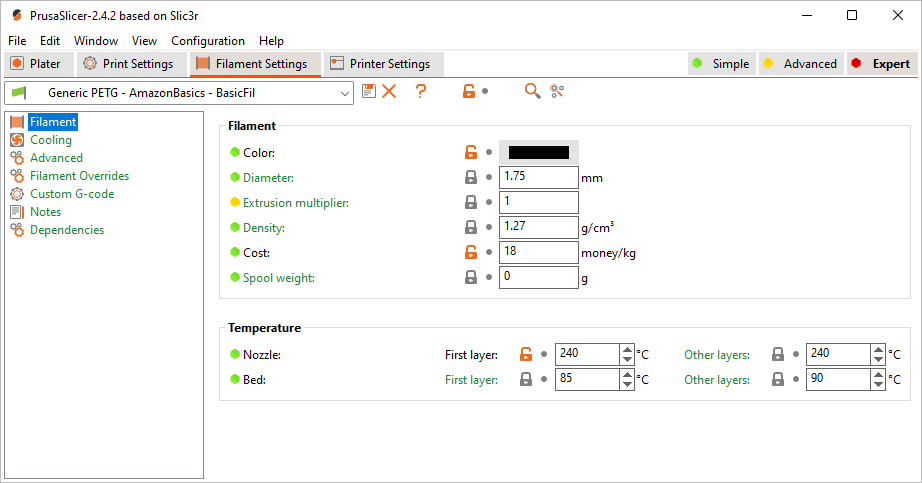
Printing Settings for MCPP BasicFil or AmazonBasics PETG Filament on PrusaSlicer
...for Spring Steel Sheet with Smooth Double-sided PEI
...for Spring Steel Sheet with Smooth Double-sided PEI
For BIG parts to stick on TEXTURED PEI Powder-coated Spring Steel Sheet sheet, I increased recommended bed temperature from 60-80°C (for AmazonBasic and MCPP BasicFill PETG filaments) to 85°C (First layer) and 90°C (Other layers). I printed BIG parts in my own Temperature Controlled Enclosure. Temperature inside enclosure was 35°C. E3D V6 HotEnd is rated to 40°C ambient operating temperature. As you approach that temperature, cooling efficiency is reduced, allowing more heat up past the heatbreak. This can cause low temperature filament to soften in the mechanism to cause feed problems.
| Prusa3D • PrusaSlicer |
• "Extruder: 240°C".
• "Bed: 85°C / 90°C".
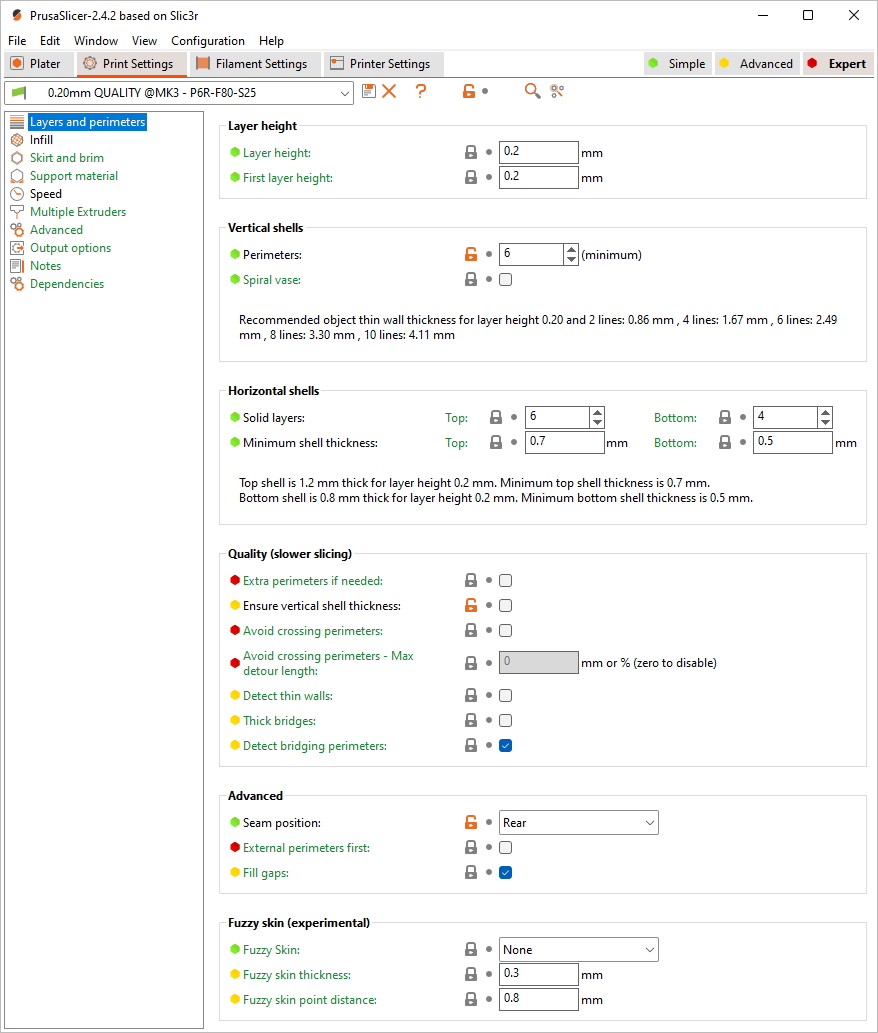
• "Ensure vertical shell thickness: disabled" - I had problems with thin 45° hanging angles when it was enabled.
• "Perimeters: 6" - infill pattern is less visible on surface.
• Seam position: Rear - I printed most of the parts with "Rear" setting selected. It created line at the back of the parts, but front and side surfaces were perfectly smooth.
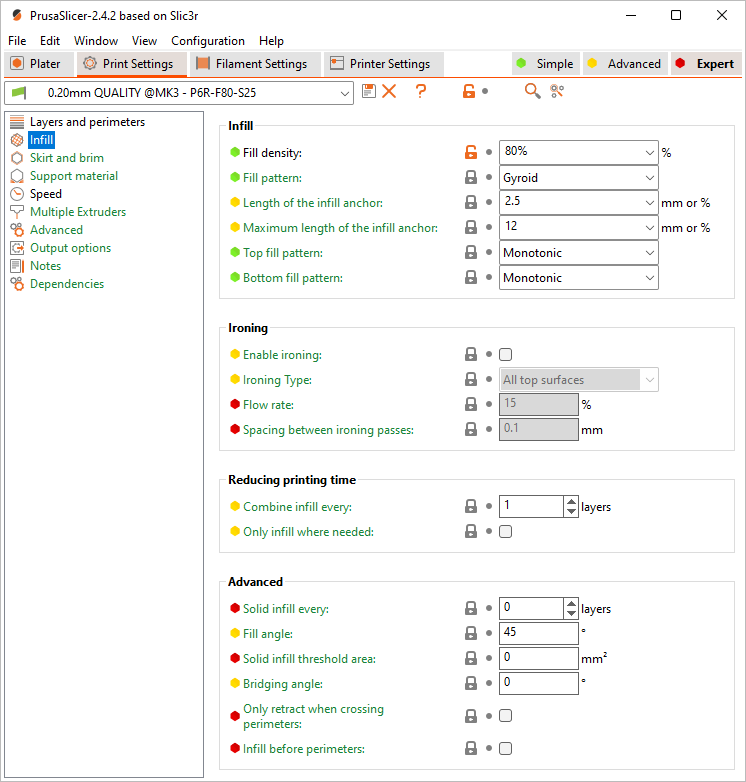
• "Fill density: 80%".
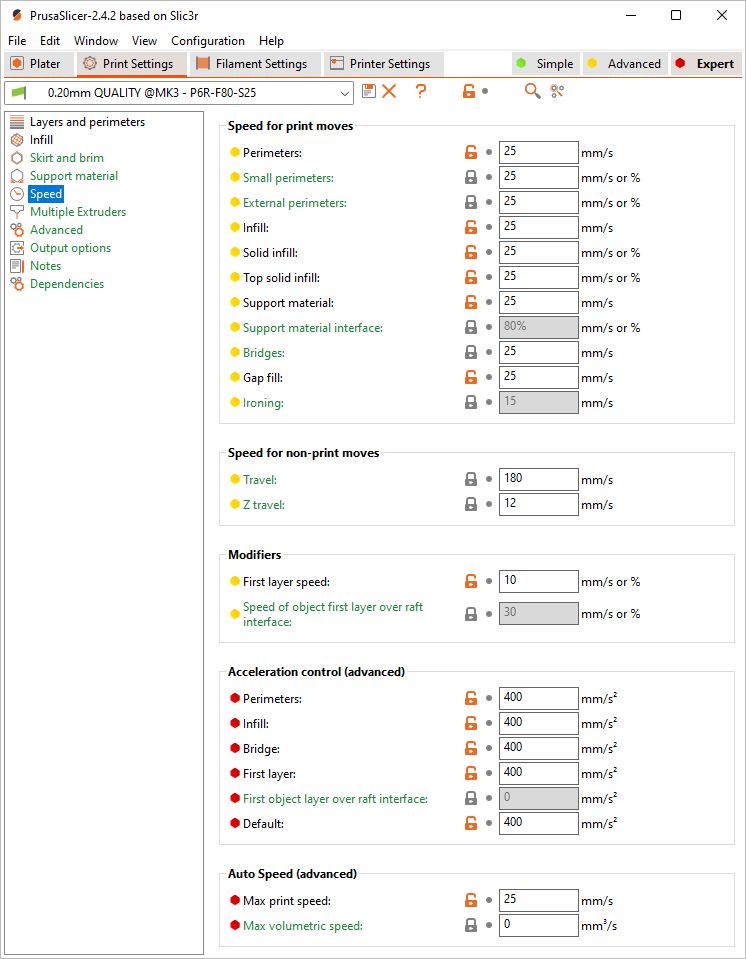
• Reduced printing speeds (10-20-180-400). Slower speeds results in smoother and glossier surfaces without matte areas, reduces printing noise with vibrations... lesser probability for corners of big parts to unstick from heated bed, because of shrinking.
• "Travel: 180" - low speeds (like 20) creates surface blobs after long travel distances.
• "First layer speed: 10" - for better adhesion.
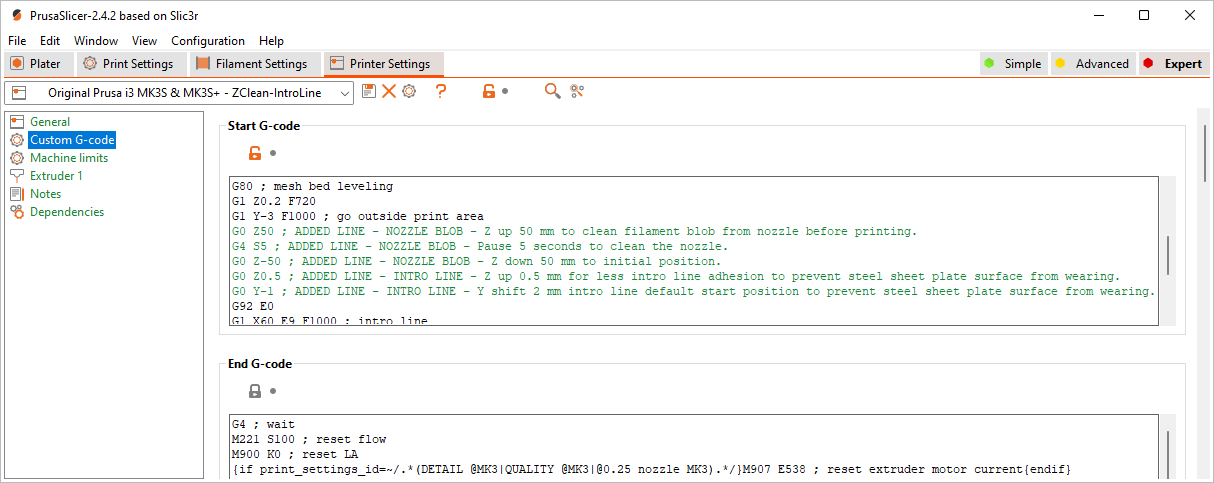
• I added few lines to G-code to remove filament blob on nozzle right before printing starts and raised intro line to reduce wearing of steel sheet plate surface.
G0 Z50 ; ADDED LINE - NOZZLE BLOB - Z up 50 mm to clean filament blob from nozzle before printing.
G4 S5 ; ADDED LINE - NOZZLE BLOB - Pause 5 seconds to clean the nozzle.
G0 Z-50 ; ADDED LINE - NOZZLE BLOB - Z down 50 mm to initial position.
G0 Z0.5 ; ADDED LINE - INTRO LINE - Z up 0.5 mm for less intro line adhesion to prevent steel sheet plate surface from wearing.
G0 Y-1 ; ADDED LINE - INTRO LINE - Y shift 2 mm intro line default start position to prevent steel sheet plate surface from wearing.
STL FILES
For better quality and safety... I printed majority of parts separately.
| To split group and to remove some parts: 1. Open “*.STL” file in PrusaSlicer Edition. 2. Click on [ Split to objects ] button. 3. Select parts one by one, which you don't want to print. 4. Press [ Del ] key on keyboard. |
| You can edit STL files with free and open source 3D creation suite Blender. | |
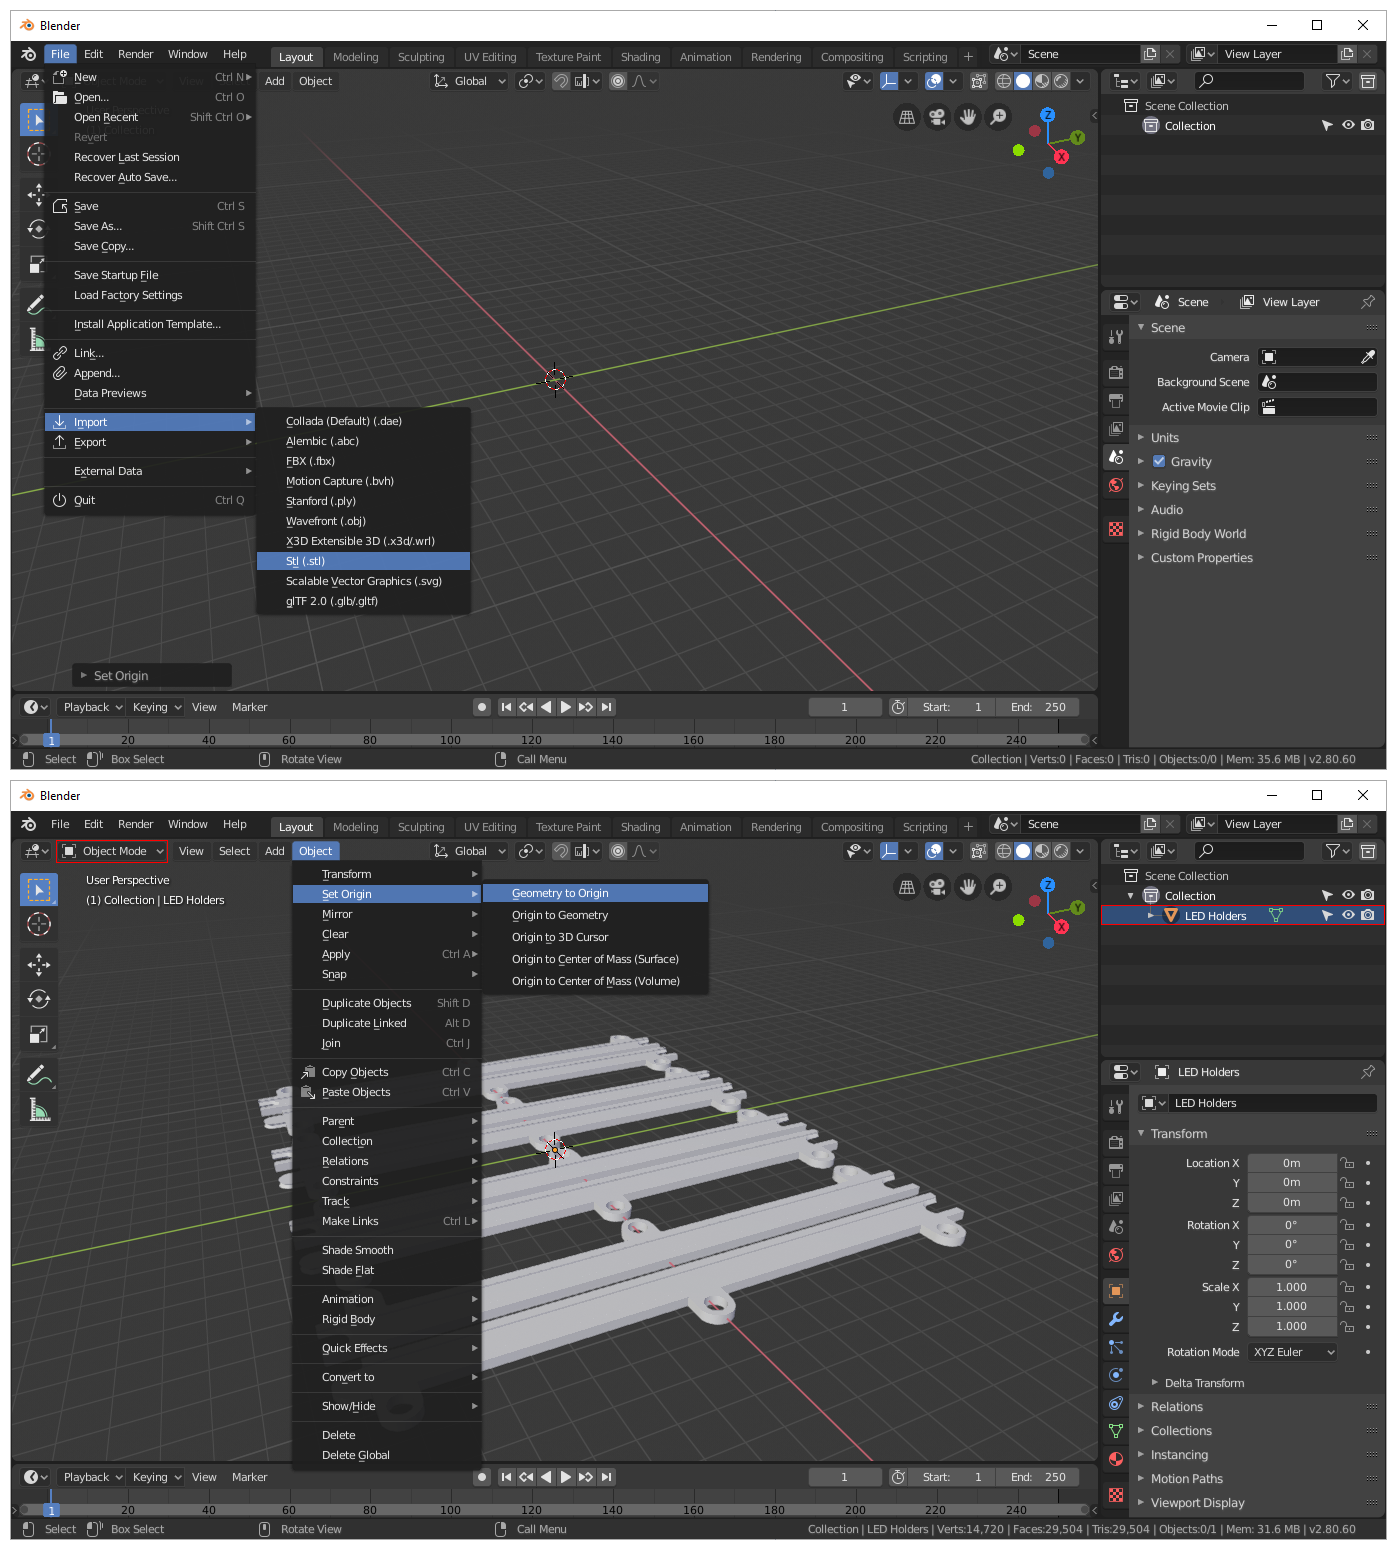 | Import “*.STL” file: 1. Blender 2.8 > File > Import > Stl (.stl). If imported STL object is not visible: 1. Select imported object in “Scene Collection” list (top-right panel). 2. In “Object Mode“ (top-left drop-down) > Object > Set Origin > Geometry to Origin. |
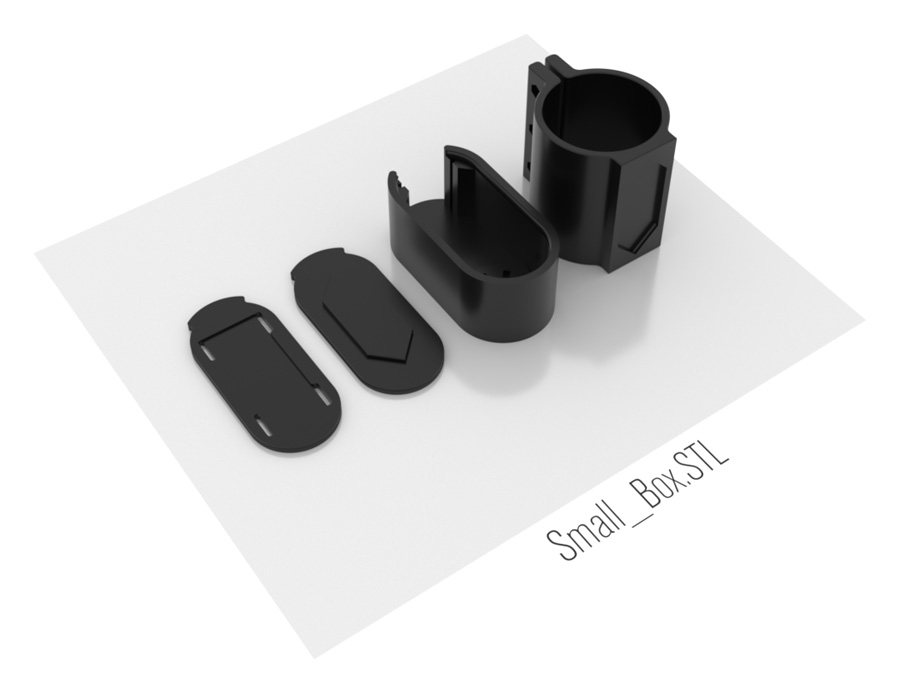 | Small_Box.STL Small Box Bottom for Velcro - Fill and Bridging angle: 45° Small Box Bottom for Attachments (5) - Fill and Bridging angle: 45° Small Box Enclosure (5) - Fill angle: 0° Small Box Holder for IKEA OLOV adustable leg |
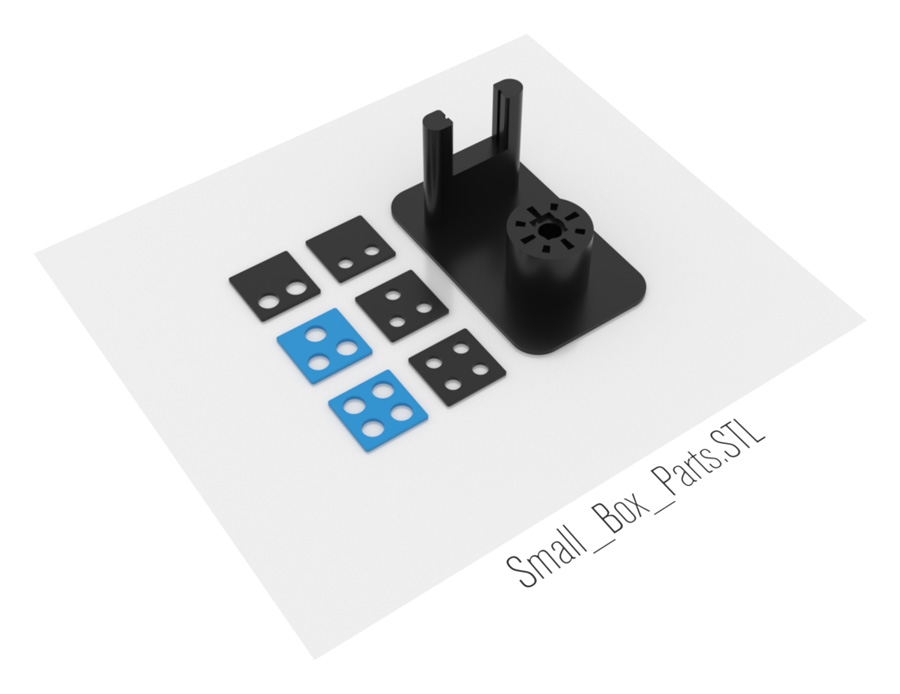 | Small_Box_Parts.STL Small Box Back Plate with 8mm x 2 Holes Small Box Back Plate with 6mm x 2 Holes Small Box Back Plate with 8mm x 3 Holes (4) Small Box Back Plate with 6mm x 3 Holes Small Box Back Plate with 8mm x 4 Holes (1) Small Box Back Plate with 6mm x 4 Holes 1 x Soldering Helper |
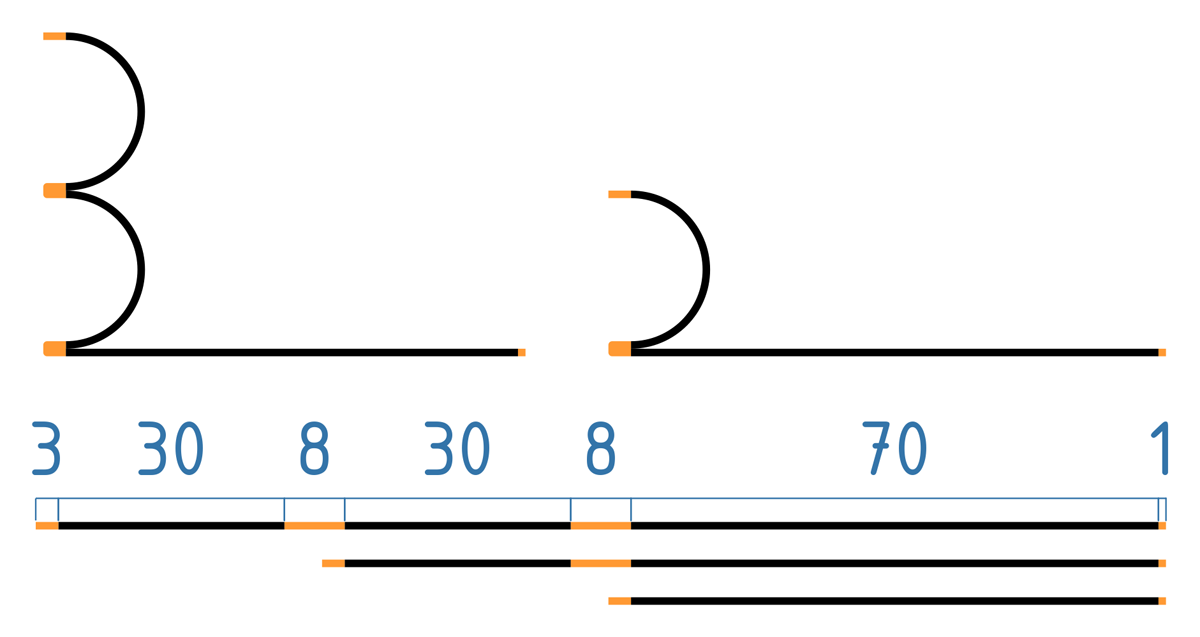
 | Knobs.STL Knurled shaft has 18 teeth, so you can mount knurled knob in 20° angle fixed positions only. If you want to align knob to various angles, you can use different knob inserts. 1 x Knob Cover with Triangle Pointer (3) - Seam position: Random 1 x Knob Cover with Circle Pointer (2) - Seam position: Random 1 x Triangle Pointer Insert (3) 1 x Circle Pointer Insert (2) 1 x Pointer Insert Helper Height 0.4mm (1) Line 1: Inserts for 15mm shaft (-4mm plate) Line 2: Inserts for 15mm shaft (-2mm plate) (2) - For Bourns PTD902 Potentiometer use ► Insert 3 Line 3: Inserts for 20mm shaft (-4mm plate) (3) - For Alpha SR2511F Switch use ► Insert 1 Round shaft Knurled shaft 0° - Knob arrow aligned with teeth spikes (0°). Knurled shaft ±10° - Knob arrow aligned between teeth spikes (to rotate knob ±10°) Knurled Shaft +5°, -5° - Knob arrow aligned 5° after or before teeth spikes (to rotate knob ±15° or ±5°). |
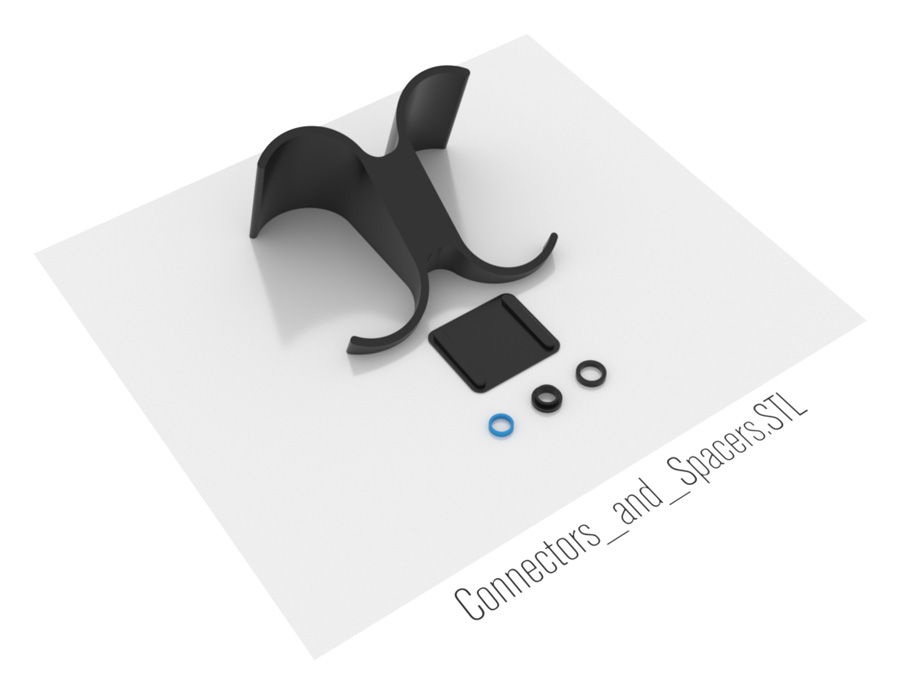 | Connectors_and_Spacers.STL 35° Angle Connector (1) Connector for Small Box Plates (1) Spacer from 9mm to 7mm Hole (2) - For Bourns PTD902 Potentiometer Spacer from 11mm to 7mm Hole Spacer from 11mm to 8mm Hole |
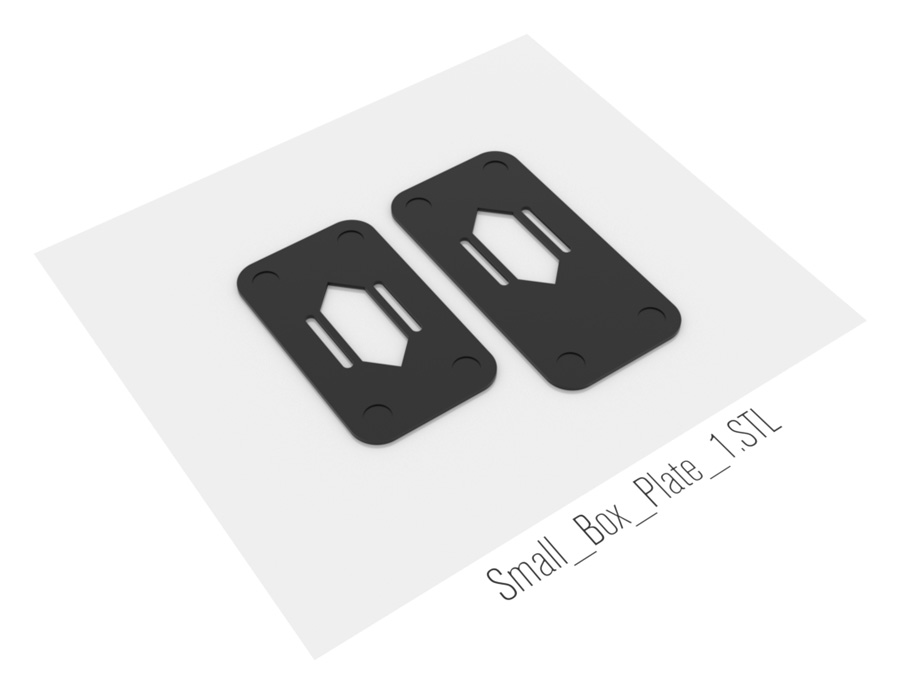 | Small_Box_Plate_1.STL Small Box Plate for 1 Box (1) Small Box Plate with Extended Front for 1 Box (1) |
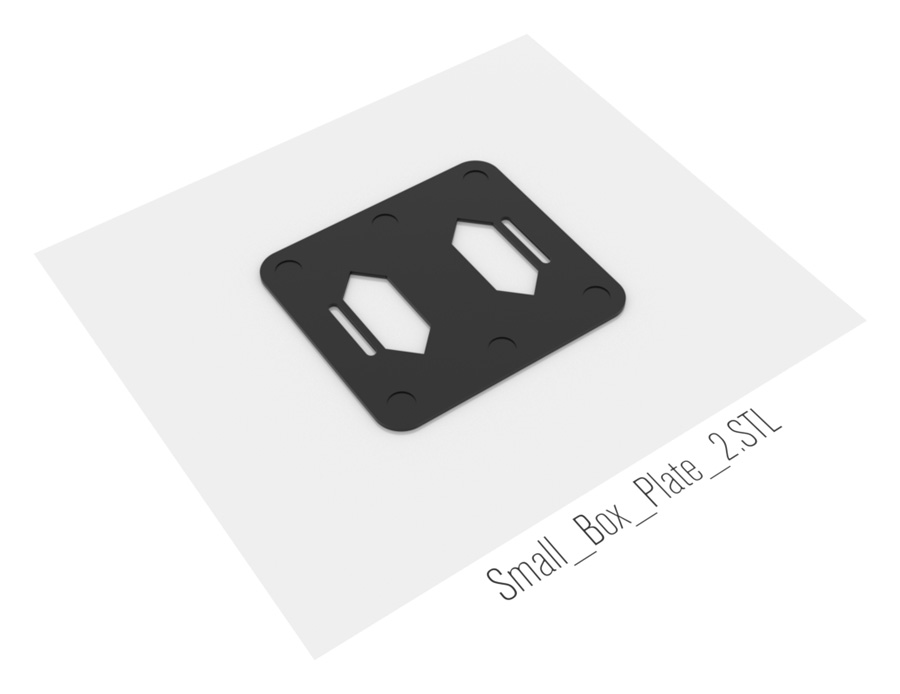 | Small_Box_Plate_2.STL Small Box Plate for 2 Boxes |
 | Small_Box_Plate_3.STL Small Box Plate for 3 Boxes |
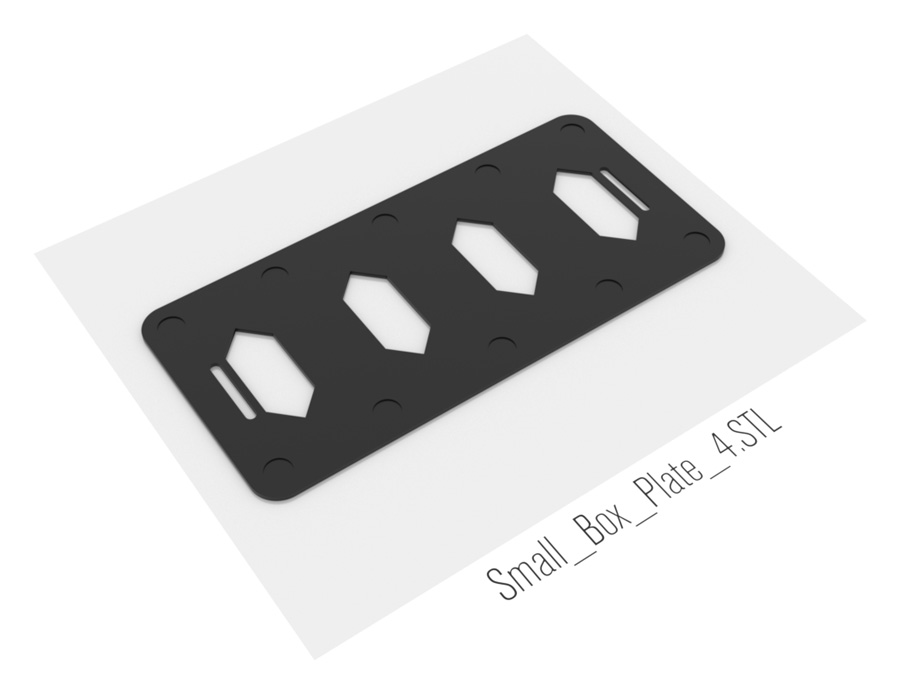 | Small_Box_Plate_4.STL Small Box Plate for 4 Boxes (1) |
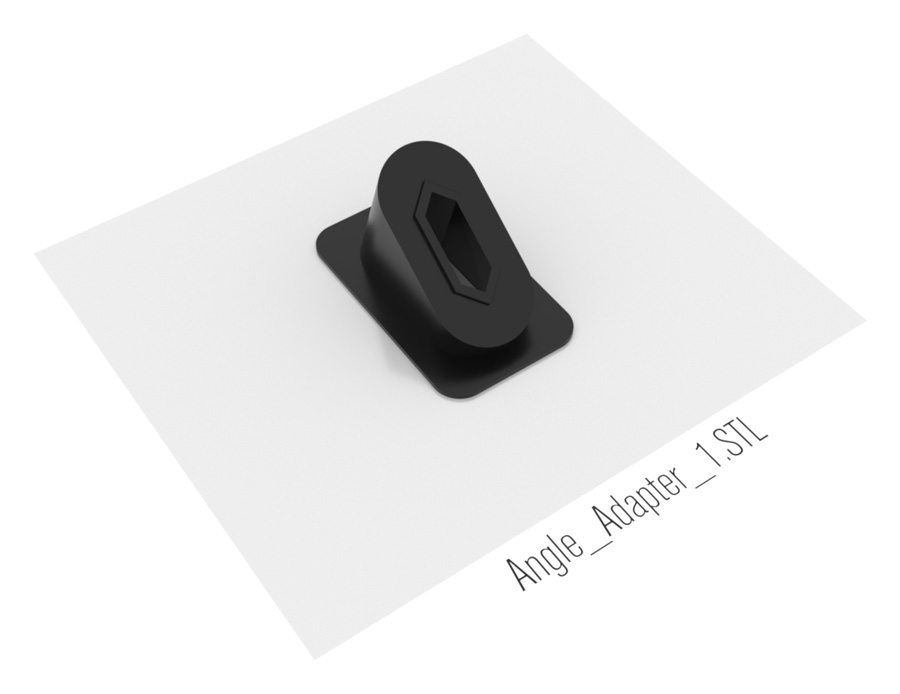 | Angle_Adapter_1.STL Single box angle adapter doesn't work well, if pad is not connected to other boxes with connector. Back is not heavy enough to maintain stability, when pushing on the knob under angle. 35° Angle Adapter for 1 Box (1) |
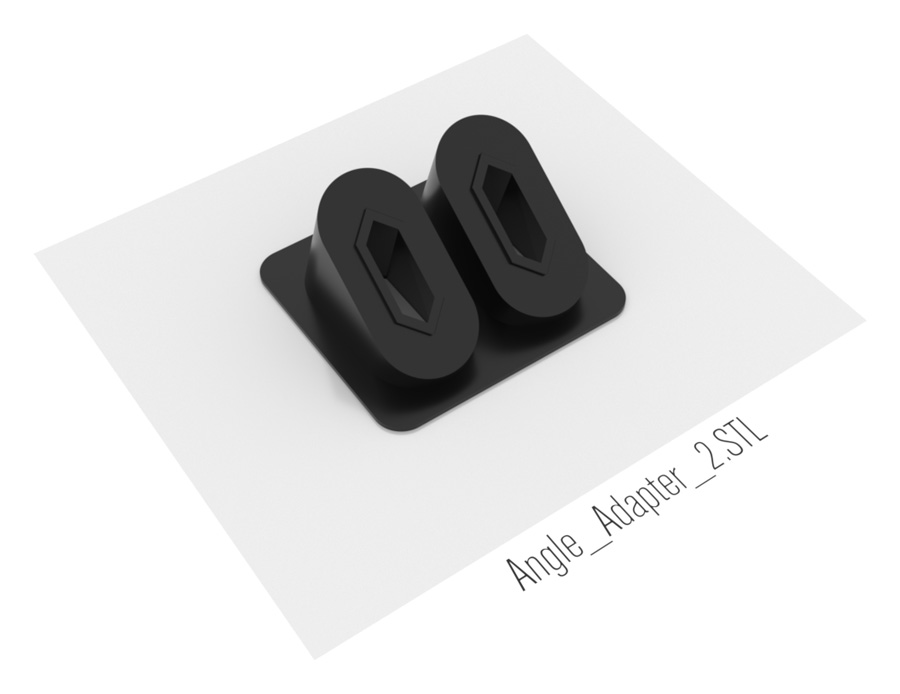 | Angle_Adapter_2.STL 35° Angle Adapter for 2 Boxes |
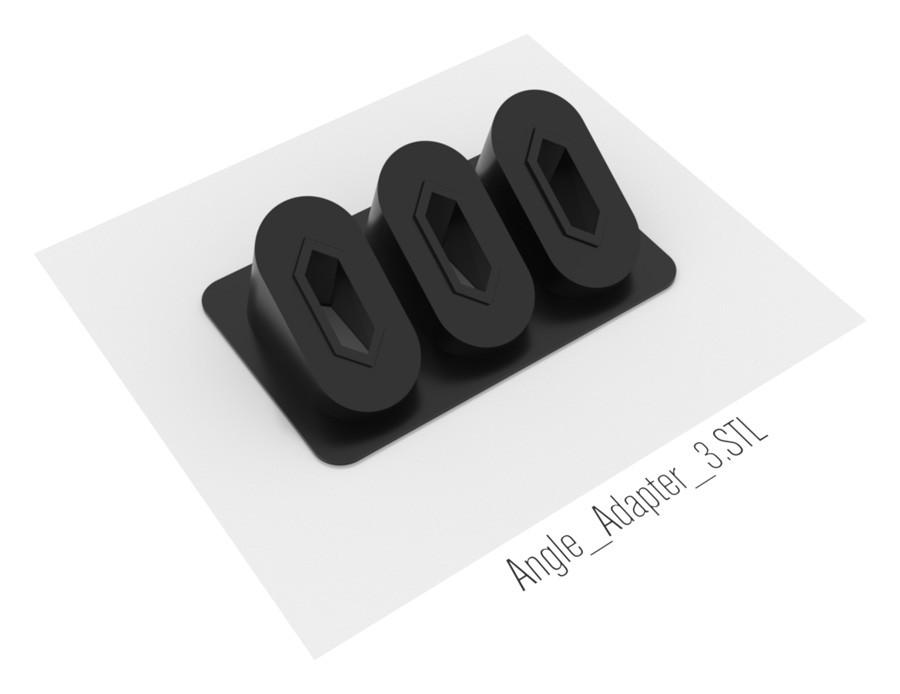 | Angle_Adapter_3.STL 35° Angle Adapter for 3 Boxes |
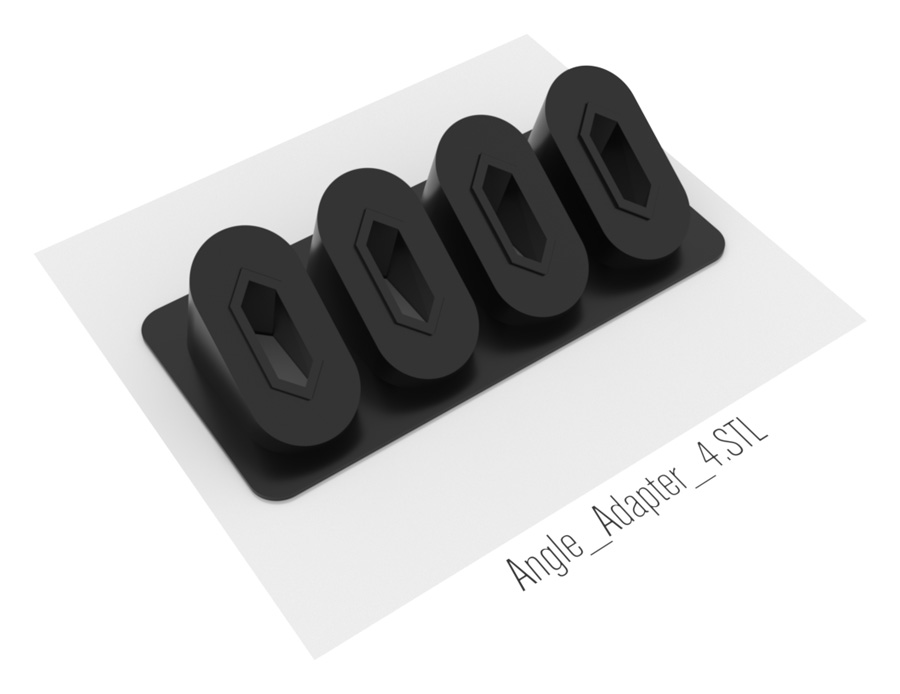 | Angle_Adapter_4.STL 35° Angle Adapter for 4 Boxes (1) |