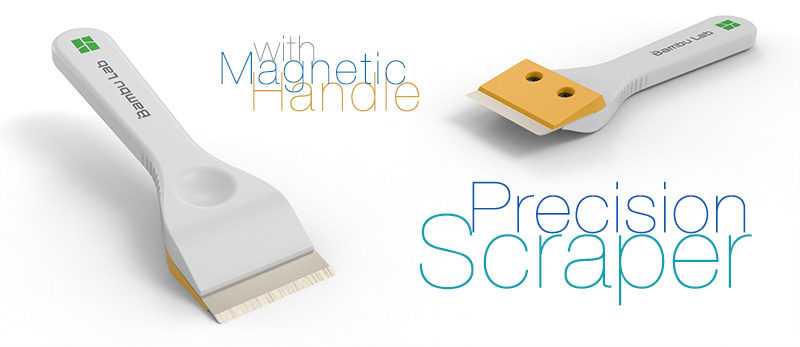
Precision Scraper Mini with Magnetic Handle

Precision Scraper Mini with Magnetic Handle
For 3D Printer Build Plates
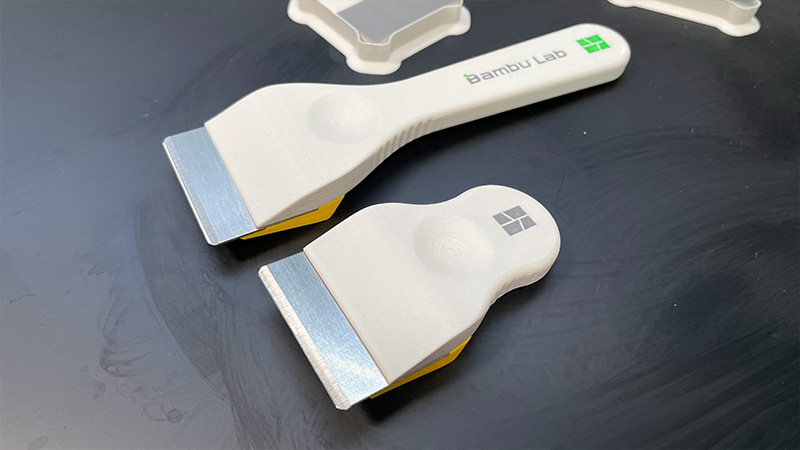
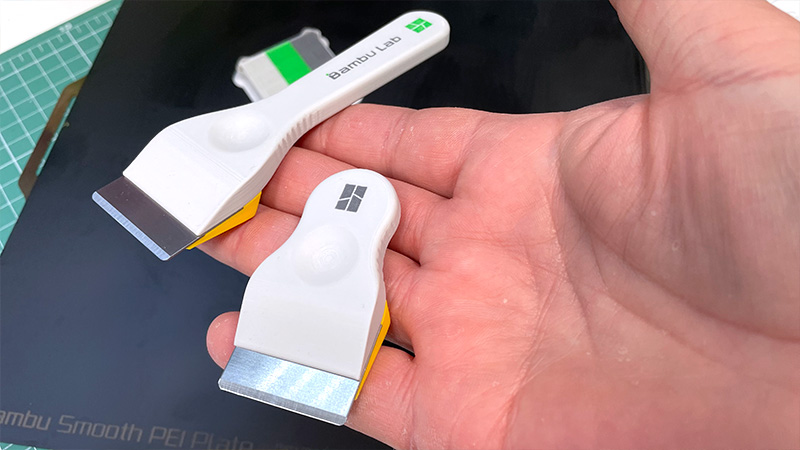
After publishing and testing the long-handle version of the scraper I released earlier today, I was genuinely impressed. It’s a truly convenient tool. And then I thought — why not make a second one, smaller, specifically for working in tight spaces? For example, inside the printer, without removing the build plate. In some cases, especially with enclosed printers, that actually makes a lot of sense.
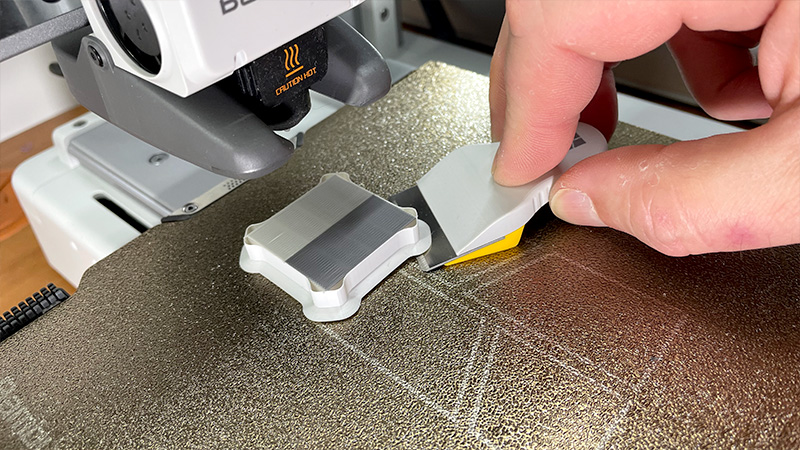
You see, I don’t always remove the build plate after a print. Often I just remove the model, clean off the skirt, brim, and any calibration prints, wipe it down with alcohol — and start the next job. That’s exactly where a shorter scraper really comes in handy. And that’s the tool I ended up creating today. Honestly, it’s a very handy little thing. Highly recommended.
All the details — what’s what and how to assemble it — are already shown in the video I made for the previous version. These two scrapers are nearly identical except for the handle length. The rest — same parts, same assembly, same logic. The full process is there. I won’t repeat everything here, but one thing needs to be said again.

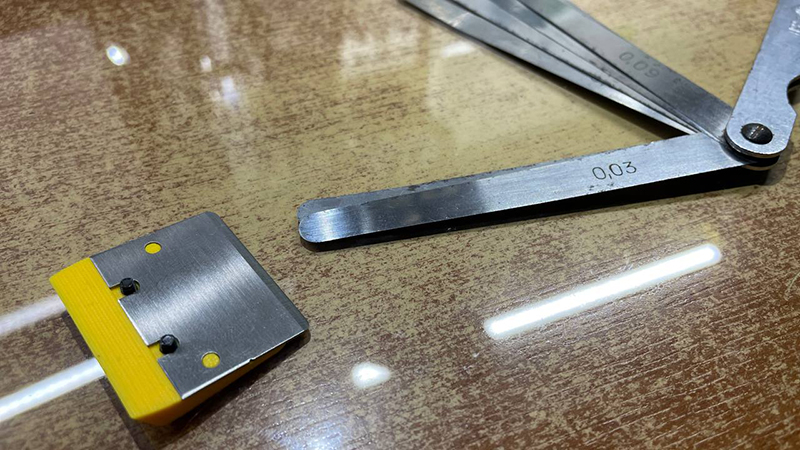
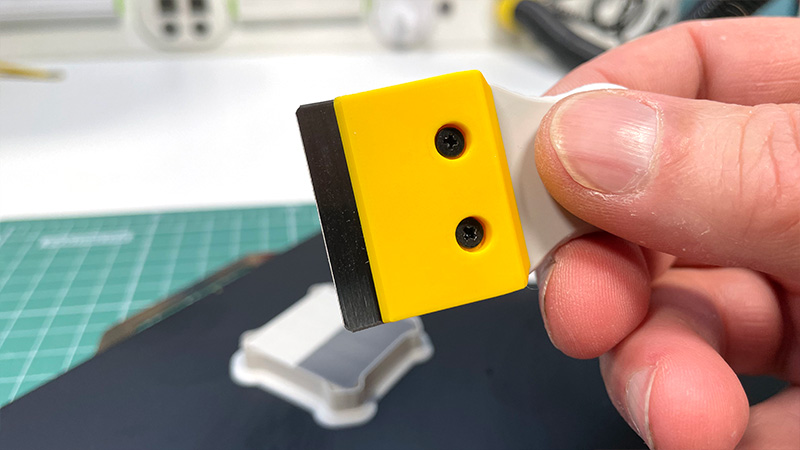
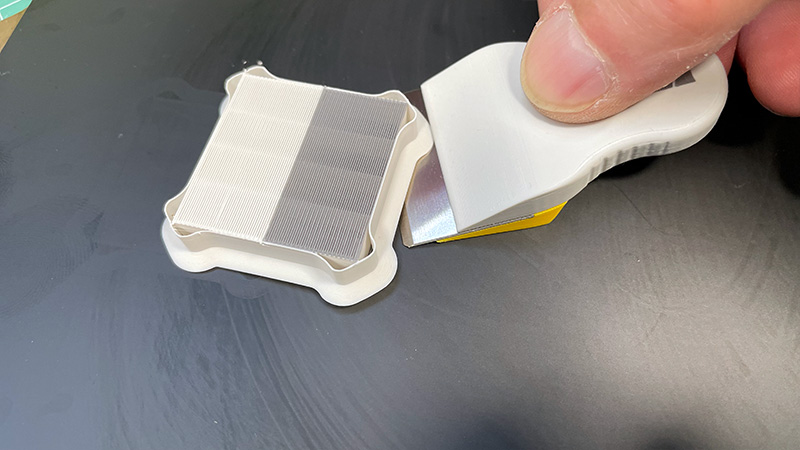
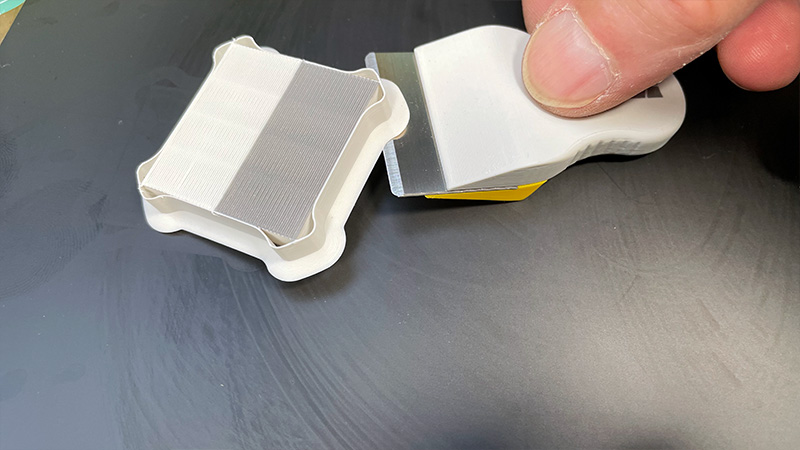
That one thing is blade orientation. The bevel must face up. I explained why in the previous post: if you mount it bevel-down, you don’t get a scraper — you get a plane. And it’ll strip material from your build plate. That’s why the precise angle, calculated down to hundredths of a degree, is critical to this design. This is not just a blade in plastic. It’s a carefully calibrated tool.
The blade slots into positioning holes, so if everything is printed correctly, you can’t install it the wrong way. But if you’re designing your own from scratch and get the angle wrong — or flip the bevel down — then the whole concept falls apart. So precision isn’t optional here. It’s the foundation of the design.
I recommend printing it with a 0.2 mm nozzle. You can download the 3MF file where everything is already preset — just load and print. But if you’re using an STL and a 0.4 mm nozzle, then just recolor the logo in a single color. Because with a 0.4, you’re going to get — let’s say it kindly — a less-than-great result. Personally, I’d rather wait and print it properly than rush and end up with an ugly tool.
For me, both function and form matter. If a tool looks bad or feels awkward — I can’t use it. It’ll irritate me every single time I pick it up. Maybe that’s not important to some, but it matters a lot to me. That’s why I sand, finish, and polish everything to perfection. Because I want it that way. It has to be practical and beautiful.
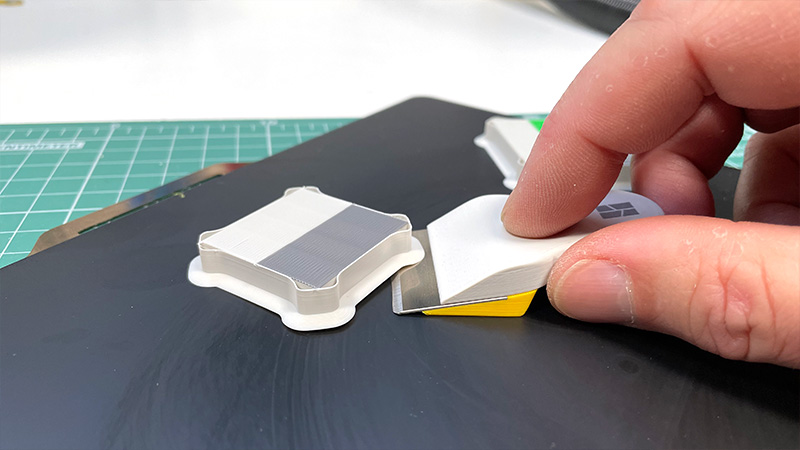
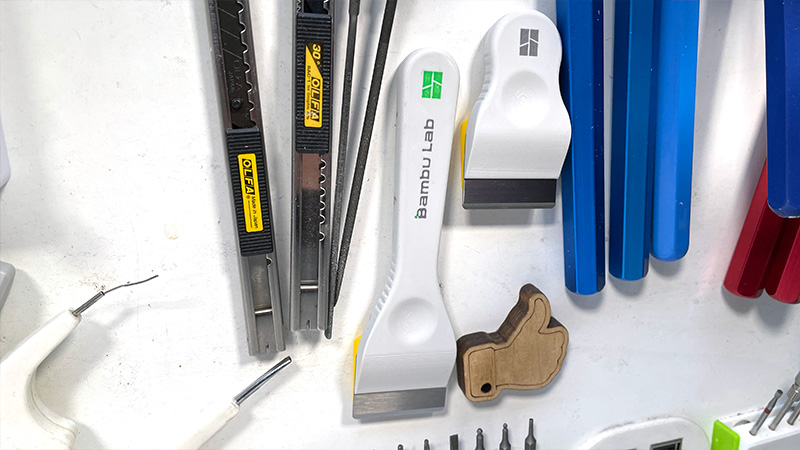
At layer 55, the 3MF file includes a pause. That’s where you insert a 10 mm diameter, 4 mm thick magnet. Once resumed, the printer seals the magnet inside the handle. If you don’t need a magnet — just enable supports in that area and print it solid. But personally, I find the magnet super useful. I’ve got plenty of metal surfaces where tools can hang — even the side of the printer. It sticks great. The magnet is centered in the handle’s thickness, so it holds nicely on either side.

If you liked this project — give it a like. Thanks!
Parts links below:
- Scraper blade
- Scraper blade Black
- Insert Knurled Nut M2 M2.5 M3 M4 M5 M6
- Cross Phillips Ultra Thin Super Low Flat Head Screw Black
- Magnet 10x4 mm
Links to used tools:
- NOGA deburring tool and Blades
- Heat Insert Nut Iron Tip
- Heat Insert Nut Iron Tip T12
- Mini Electric Drill
- Polishing Cordless Drill
My new machine:


My favorites:

Thank you for every tip or donation,
it means great recognition for me and helps a lot to keep going!

BTC:bc1qplpzq36ghw84hty4nn2zzu4ps4sdh4th0v93j8
ETH:0xc766ebbeAa76aaf629788c8F99C33A8d80d48977
My some other things: